Weather API
In this project, the main objective was to create a website that, takes real time information of weather, humidity and wind speed from a open source APPI called Open Weather. This is a really simple website but it cointains a lot of basic and advance concepts that a web developer should know. In the following section some of the code and the diffente parts of the website will be explained. The main objective of showing this projects is to give an overview of handling REST request and how to used public open source API in order to build a responsive website that is user friendly.
Front-End Stage
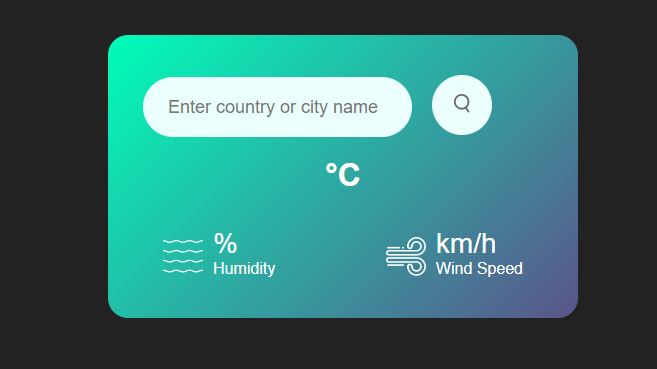
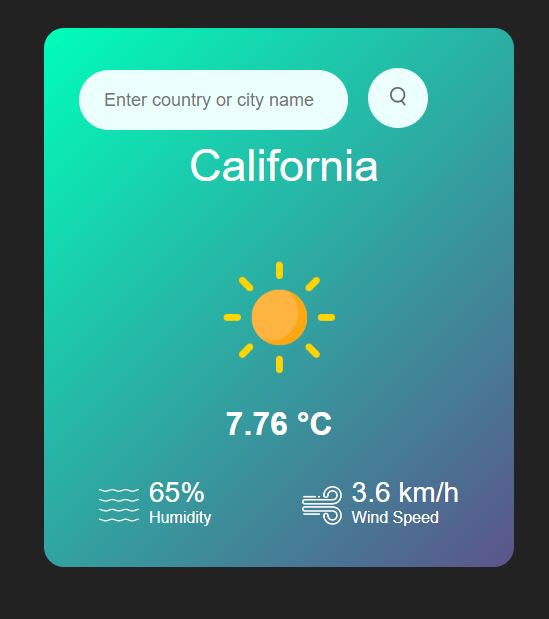
- The first stage is design the front end, for this part two archives were made, the ejs that cointains all the html structure and some of the functionalities that can be inserted thanks to EJS, and de CSS file to give some format and a attractive design in order to make the user feel confortable using the webiste. In the following images the user interface can be checked both in an initial state, and after the user makes a request.
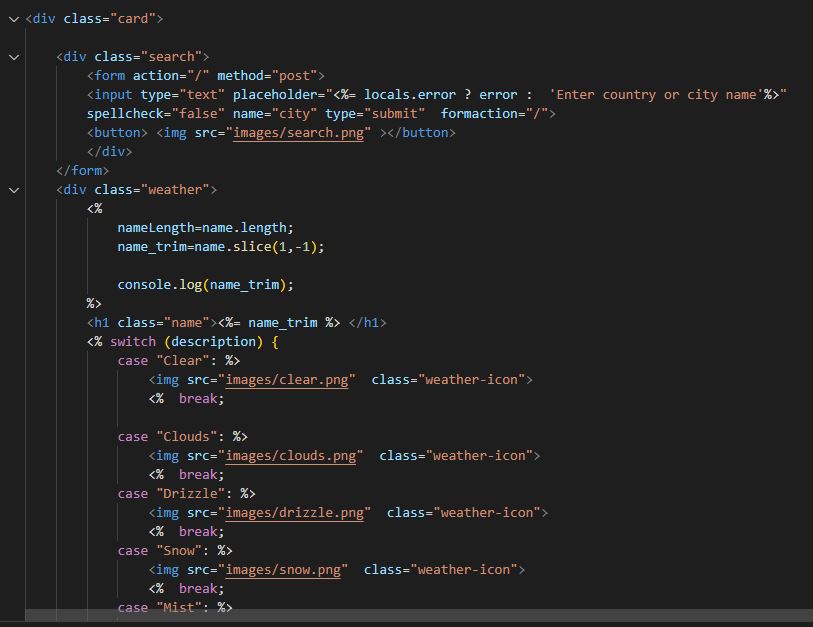
- In the ejs file is important to hightlight that thanks to EJS the data that comes from the back-end side can be display in the user interface, but also some code can be written in order to process more deeply data and get better results. In the following picture some of the code is shown with several examples of the utility of using a EJS file instead of a pure HTML file.
Back-End Stage
-
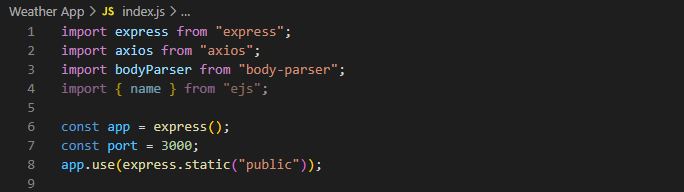
In this stage JavaScript was used to code the backend and all the functionalities and the bridge to connect the front-end Stage with the back-end and the open weather api. In the following image, the imports used are shown such as express axios to make the REST API request and the body passer to access and show the information to the user in the front end. In this project instead of the typical HTML format, a EJS type was used to be able to inject directly code inside the HTML structure.
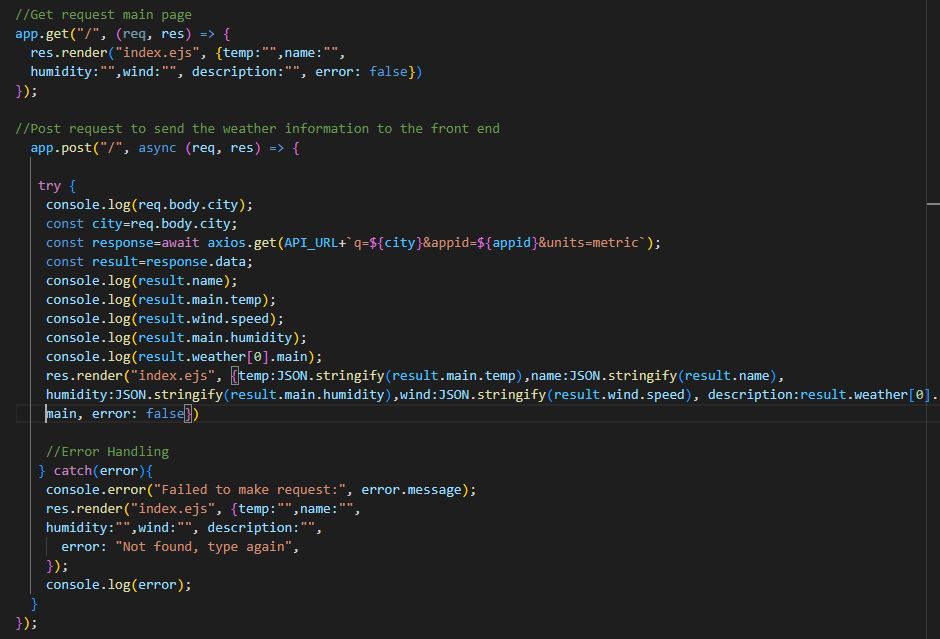
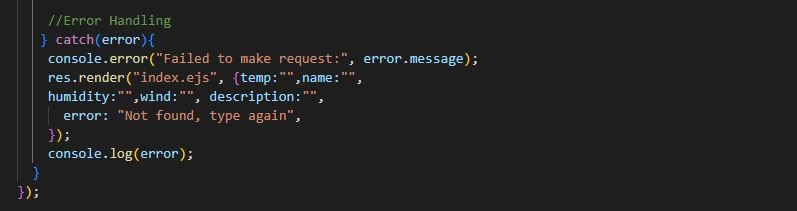
Another important part of the back-end is the error handling part, and how it gives an appropiate feedback to the user, in order to improve the user experince in the following image some of the code used to handle some error is shown.